


Did you know that you can have your order delivered to the competitions we attend?
Would you like us to come to your shooting club’s competition? Contact us, and we’ll check if this is possible.
Click here for more information.
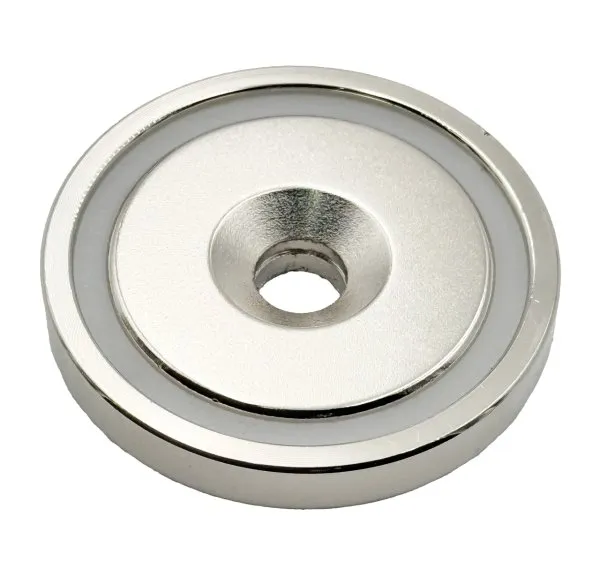
DAA Universal Magnet Kit
- DAA X-Ray Aluminum Pouches
- DAA X-Ray Polymer Pouches and Racer Gen-2 Pouches
- DAA XiP and DAA Racer Gen-1 Plastic Pouches
- DAA Alpha-XI, and older discontinued DAA Alpha-X and DAA Race Master Aluminum Pouches
Note that this kit does not include the counter sunk nut required for mounting the magnet on the outside of the Single Stack Racer Pouch.
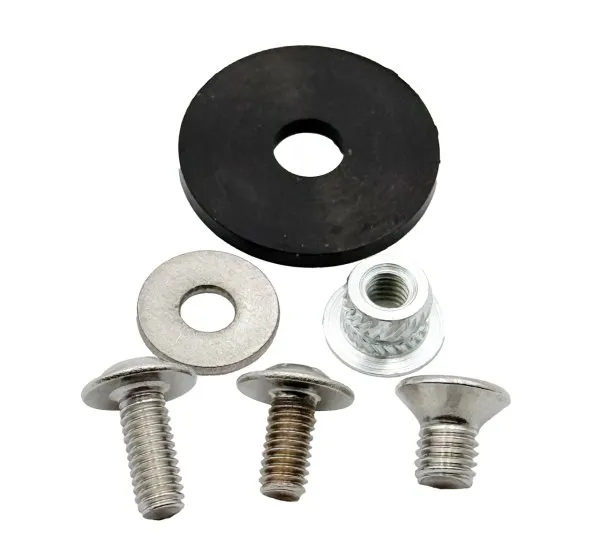
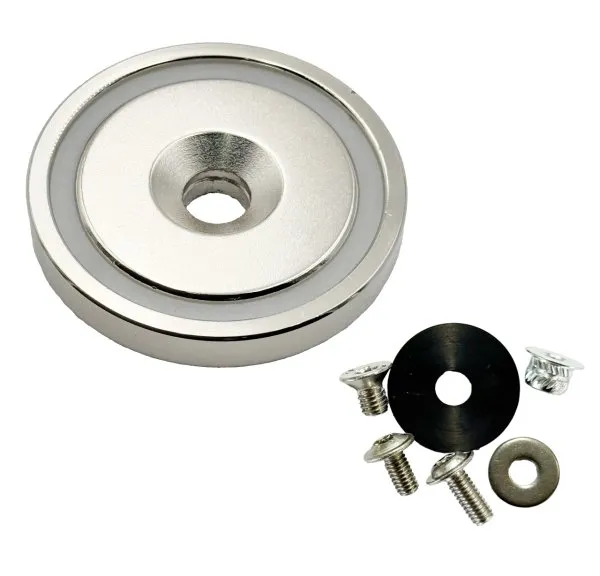
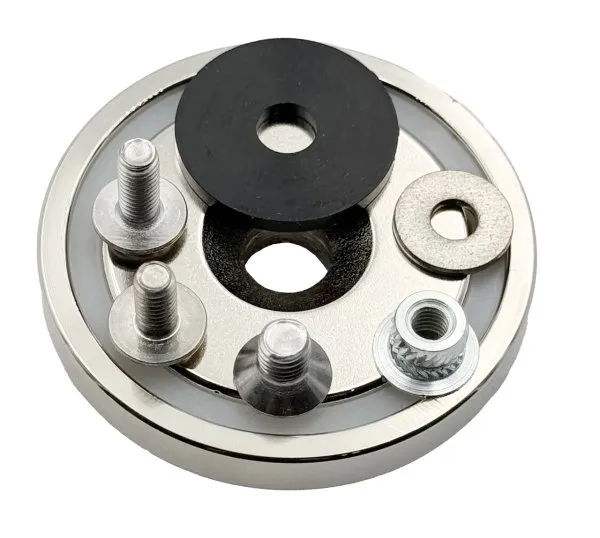
This kit includes the following parts:
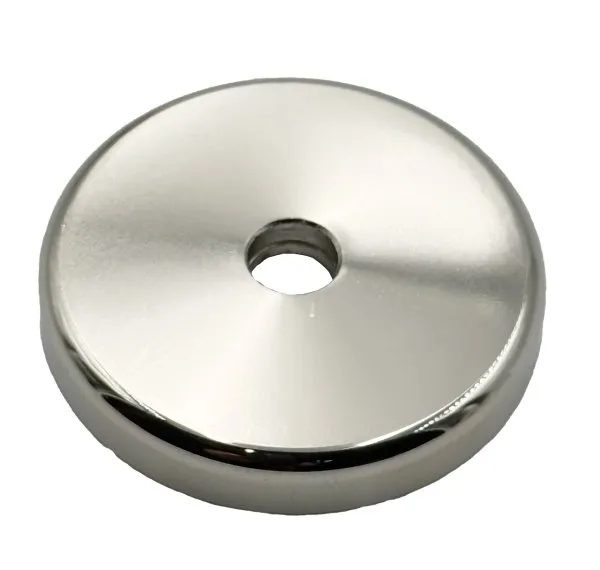
- 48mm N52 pot magnet
- Rubber Washer 22x2mm
- Steel washer 12x0.8mm
- M5x10mm counter sunk screw
- M4x8mm Flat head wide flange screw
- M4x10mm Flat head wide flange screw
Please note that not all parts are required for every type of mag pouch.
- Secure payments!
- Questions? Send us an email or call us.
- info@jaktochsportskytte.se
- 0563 - 32 45 45
Description
Article no.: DAA-104181
Assembly instructions for each pouch model:
DAA X-Ray Aluminum Pouches
- Use the M4 screw to attach the magnet. (either the 8mm or the 10mm, whichever fits best)
- Place the rubber washer between the pouch body and the magnet.
Notes: You can apply a drop of Loctite. Do not overtighten.
DAA X-Ray Polymer Pouches and Racer Gen-2 Pouches
- Use the M4 screw to attach the magnet. (either the 8mm or the 10mm, whichever fits best)
- Place the steel washer between the pouch body and the magnet. This prevents the insert from pulling out.
Notes: You can apply a drop of Loctite. Do not overtighten.
DAA XiP and DAA Racer Gen-1 Plastic Pouches
(pouches without a pre-drilled magnet mounting hole or thread)
- Drill a centered hole 1.4 cm (0.55”) from the bottom edge using a 6.7–6.9 mm (17/64”) bit. (A 6.5 mm (1/4”) bit can also be used, though the fit will be tighter.)
- Hold the threaded insert inside the pouch, aligned over the drilled hole.
- Place the magnet directly over the hole.
- Thread the M4 screw through the magnet into the insert.
- Tighten carefully—the screw will pull the insert into the plastic until the flange is snug against the inner wall. Do not overtighten. Snug is sufficient.
- Remove the screw, insert the rubber washer between the pouch and the magnet, then retighten. The washer prevents rotation and reduces the chance of the insert pulling out from overtightening.
Notes: You can apply a drop of Loctite. Do not overtighten.
DAA Alpha-XI, and older discontinued DAA Alpha-X and DAA Race Master Aluminum Pouches
- Use the M5x8mm screw to attach the magnet.
- Place the rubber washer between the pouch body and the magnet.
Notes: You can apply a drop of Loctite. Do not overtighten.